
ClickUp time tracking starts when a Workspace owner or admin enables the Time Tracking ClickApp. After that, people start timers on tasks, add manual entries and roll hours into Timesheets and Dashboards. Most “broken timer” tickets are plan limits, guest permissions or a ClickApp left off in that Space. It’s rarely a bug.
I checked ClickUp’s help article Time Tracking feature availability and limits and Activate time tracking patterns on October 19, 2026, plus ClickUp pricing for both plan lineups. This keeper post also folds unique troubleshooting from former post 4754 (time tracking not working). Related: ClickUp vs Trello, ClickUp dashboards.
Turn it on (two minutes)
Per ClickUp’s Activate time tracking article, only a Workspace owner or admin can do this:
- Open the App Center.
- In the left sidebar, click All ClickApps.
- Search for Time Tracking and click the toggle.
- Use the dropdown to turn it on only in the Spaces that need it.
- Optional: click Default new time entries to billable for client Spaces.
- Optional: turn on Time Tracking Rollup so parent tasks show their subtasks’ time.
Guests can’t turn on ClickApps. A guest can track time only if an admin allowed it and the guest has edit or full edit access to the task.
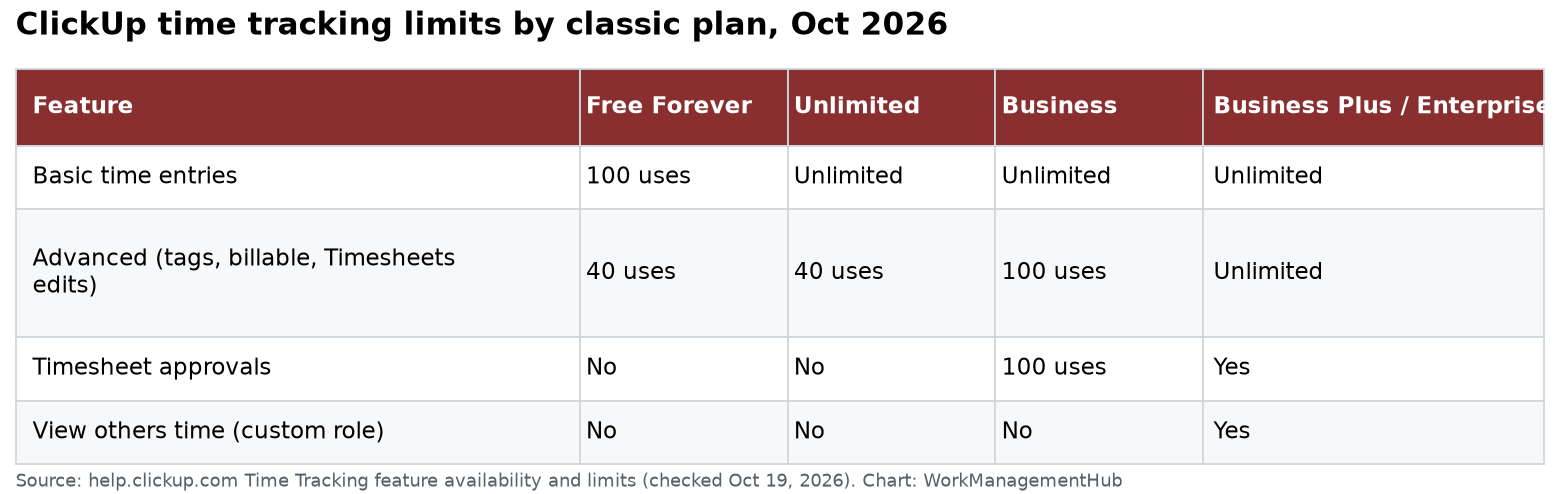
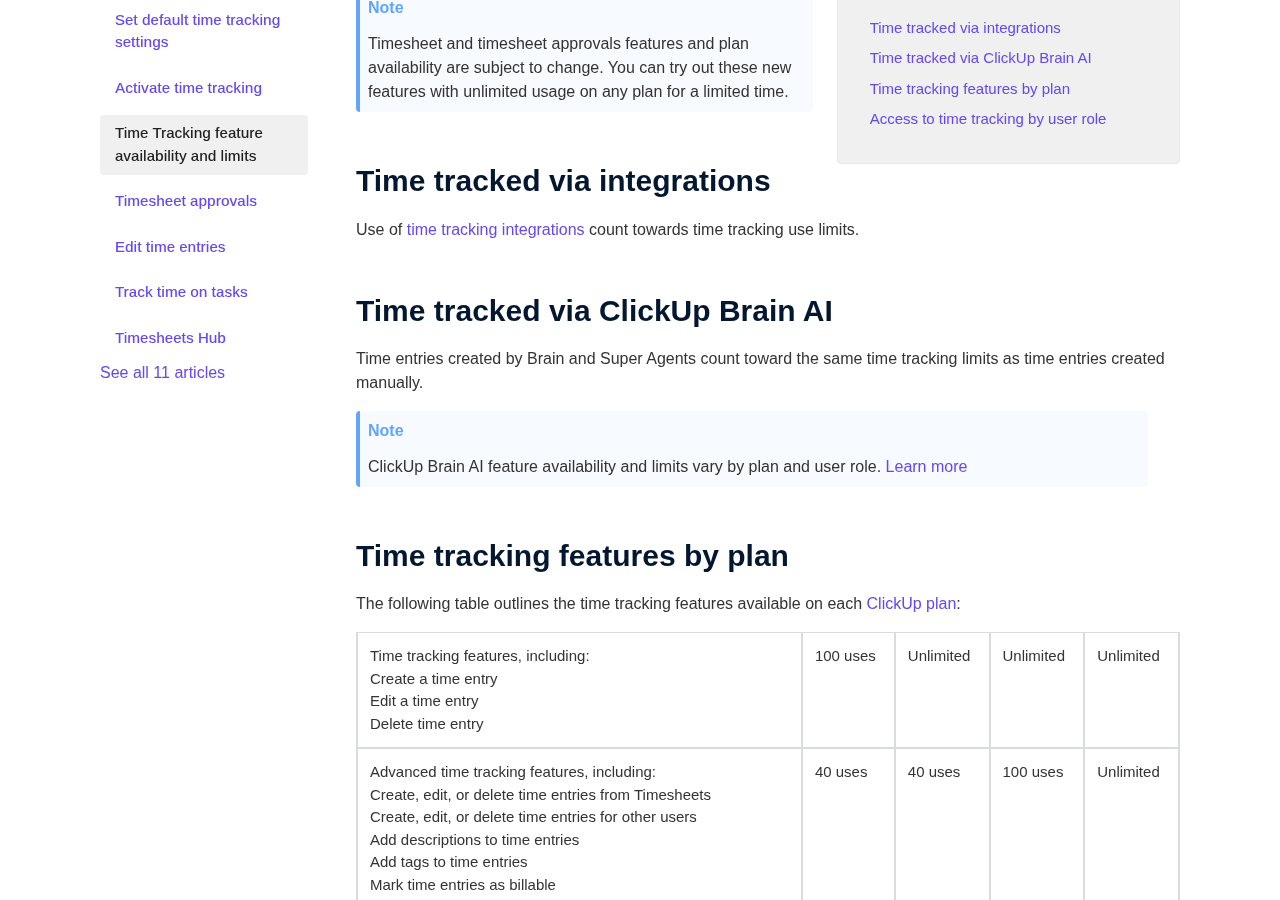
Classic plan limits (from ClickUp help)
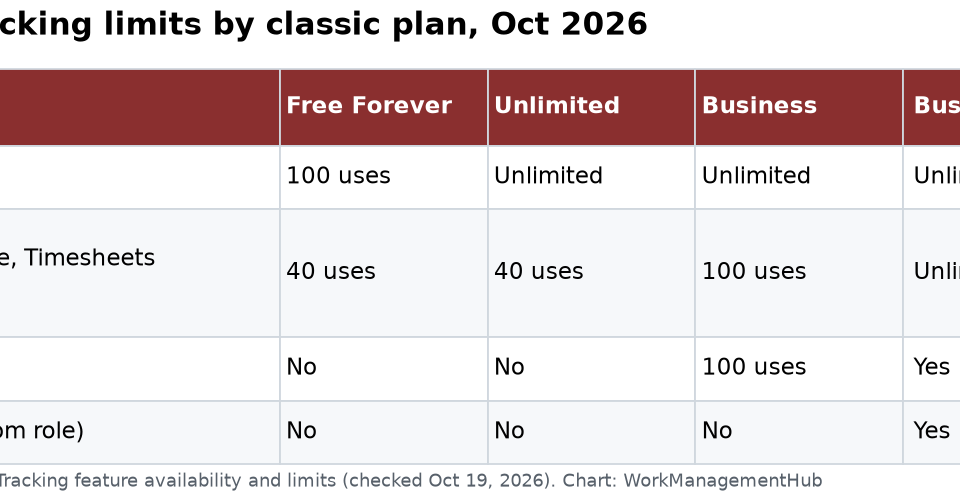
| Feature | Free Forever | Unlimited | Business | Business Plus / Enterprise |
|---|---|---|---|---|
| Basic create/edit/delete time entries | 100 uses | Unlimited | Unlimited | Unlimited |
| Advanced (Timesheets edits, tags, billable, other users, non-task time) | 40 uses | 40 uses | 100 uses | Unlimited |
| Timesheet approvals | No | No | 100 uses | Yes |
| View others’ time via custom role permission | No | No | No | Yes |
ClickUp notes timesheet features can change and may offer limited-time trials. Time from integrations and Brain also counts toward limits.
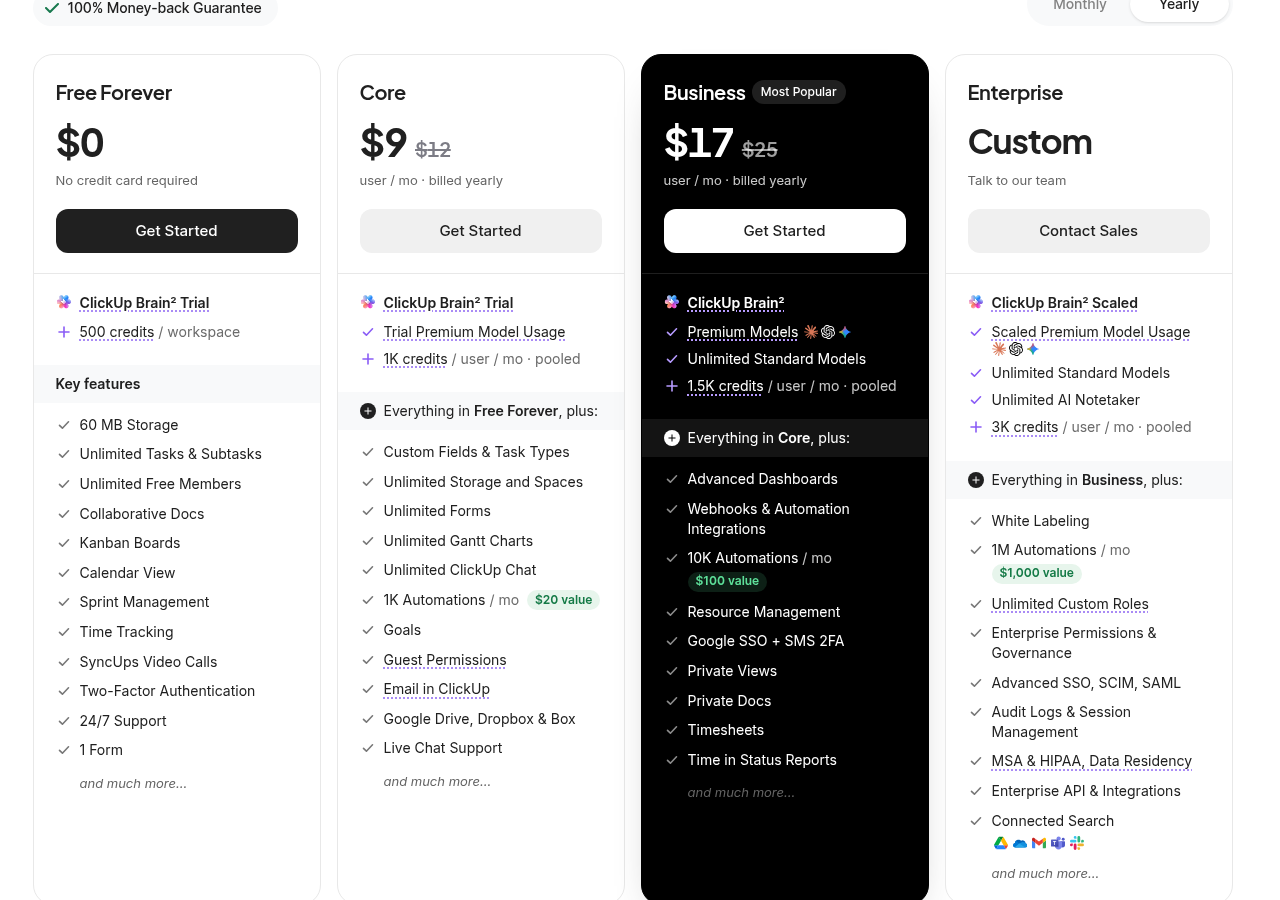
New plan lineups: some workspaces see Core / Business / Max with AI bundled. Confirm time tracking packaging on your workspace’s pricing page and help center. Always name which lineup you are on when you quote limits.
Daily ways to log time
- Timer on a task: start/stop from the task or toolbar
- Manual entry: add hours after the fact
- Timesheets Hub: edit the week grid on plans that allow it
- Dashboard cards: report hours by person or task
For client work, tag entries and mark billable. Agree on a tag list (Client A, Internal, Presales) before the team invents twenty spellings.
Fold-in fixes from “not working” (ex-4754)
Check in this order:
- Is Time Tracking enabled for that Space?
- Are you out of Free/Unlimited advanced uses? Free Forever basic tracking is capped at 100 uses; advanced features have separate 40-use caps on lower plans.
- Are you a guest without track permission?
- Is the task in a closed/archived location you cannot edit?
- Browser extensions blocking scripts? Try an incognito window.
- Mobile vs desktop mismatch: update the app.
- Overlapping timers: stop the old timer before starting a new one.
Only after those checks should you clear cache or reinstall.
Timesheets and approvals
Open timesheets from Timesheets in the main left menu. If you don’t see it, click More and pin it. The Timesheets Hub has two displays:
- Timesheet: one row per task, one column per day. Hover over a day to see capacity, tracked, billable and non-billable time.
- Time entries: every entry listed by date.
A gotcha that confuses finance: if a day already shows 1 hour and you type 2 hours, ClickUp doesn’t overwrite it. It adds a new 1-hour entry to reach the total. Your export will show two entries for that day. That’s expected.
To set up timesheet approvals, an owner or admin opens Timesheets > Approvals > Setup timesheet approvals. Then:
- Pick the weekly due date and time.
- Add reminders before or after the deadline.
- Choose who submits, then click Add.
- Click the person icon in the Approvers column to pick each approver, then Save.
People click Submit for approval in the upper right of their timesheet. Entries lock on submission. A timesheet shows Pending, Changes needed or Approved. Only Changes needed can be edited again.
Plan check: approvals are not on Free or classic Unlimited. Business gets only 100 approval uses. ClickUp counts submitting, requesting changes and approving as approval features. So a 10-person agency submitting weekly makes about 40 submissions a month before any approvals or change requests. 100 uses won’t last long. Plan on Business Plus if you invoice from approved hours. Viewing other people’s time through a custom role also needs Business Plus or Enterprise.
Reporting tips
- Build a Dashboard with time by assignee and tag
- Export CSV for accounting weekly
- Do not treat timers as surveillance without a written policy
Billable workflow that agencies actually keep
- Require a Client tag on every entry.
- Mark billable by default only in client Spaces.
- Manager reviews Timesheets Friday.
- Export to invoicing Monday.
- Lock last week after approval so numbers do not drift.
If people forget timers, allow manual entries with a note. Punishing forgotten timers creates fake data.
Dashboard starter set
- Hours this week by person
- Billable vs non-billable by tag
- Tasks with zero time but Done status (quality check)
Keep three cards. More cards become wallpaper.
When to buy Business Plus
Buy it when approvals and viewing others’ time are non-negotiable. If you only need unlimited basic timers, classic Unlimited or new Core may be enough. Name the lineup on the quote.
Related internal links
Sources
- Time Tracking feature availability and limits (checked Oct 19, 2026)
- Activate time tracking
- Timesheets Hub
- Timesheet approvals
- ClickUp pricing (checked Oct 19, 2026)
- New plans and pricing options
Scenario walkthroughs
Freelancer on Free Forever. Use the 100 basic uses carefully or upgrade when you hit the wall mid-month.
Agency with weekly client invoices. Business Plus (or Enterprise) for approvals and viewing others’ time. Do not try to fake approvals in spreadsheets.
Product team that only wants focus metrics. Unlimited/Core basic timers may be enough. Skip billable tags if you do not invoice.
Policy template (short)
“We track time on client Spaces. Timers preferred; manual OK same day. Tags required. Managers approve by Monday noon. No tracking of personal breaks.”
Publish it in the Workspace Doc.
Final recommendation
Enable the ClickApp, confirm Space settings, know your plan’s use caps, and fix permissions before you blame the browser. Name classic vs new ClickUp plans whenever you quote prices.
Space-level ClickApp gotcha
Time Tracking can be on for the Workspace but off for a Space. New Spaces inherit defaults; older Spaces may not. When someone says “my timer vanished,” check Space ClickApps before plan limits.
Rollup and hierarchy
Enable Time Tracking Rollup if you want parent tasks to show child time. Without it, managers looking only at parent tasks think nothing was tracked. Document which level you review in standups.
Classic vs new plan naming in tickets
When you open a ClickUp support ticket about limits, state whether you see Unlimited or Core in billing. The help tables still use classic names in places. Mixing names slows support replies.
Common questions
Is time tracking free on ClickUp?
Basic tracking exists on Free Forever with a 100-use cap. Serious weekly use needs Unlimited or higher. Advanced Timesheets features need higher plans.
What is a “use”?
ClickUp counts tracked actions toward plan caps. Integration and AI-created entries also count. See the help table for exact feature groups.
Do guests track time?
Only if permissions allow. Guests cannot enable the ClickApp itself.
Classic vs new plans: which limits apply?
The help table we cite uses classic names (Unlimited, Business, Business Plus). If your workspace is on Core/Max, confirm the matching help article for your plan labels.
Can I track time without a task?
Advanced features include non-task time on higher tiers. Lower plans may block or cap that.
Timer will not start. First fix?
Confirm the ClickApp is on for the Space, then check plan use limits and guest role before troubleshooting the browser.
Sponsored