How to Set Up Wrike Request Forms in 2026: Conditional Logic, Blueprints and Public Links

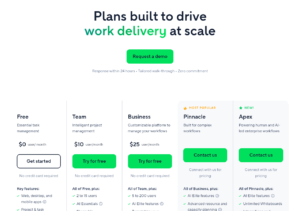
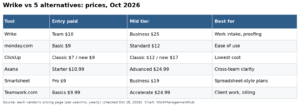
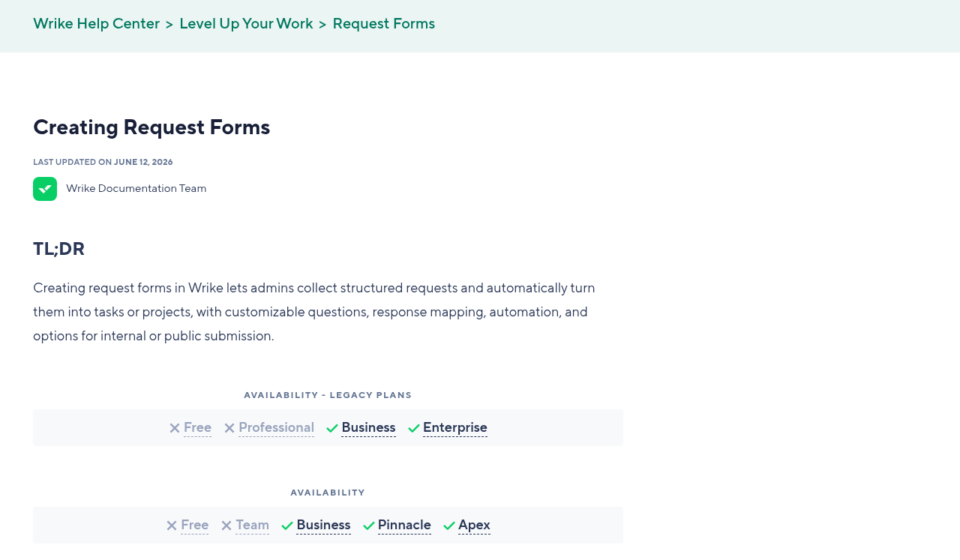
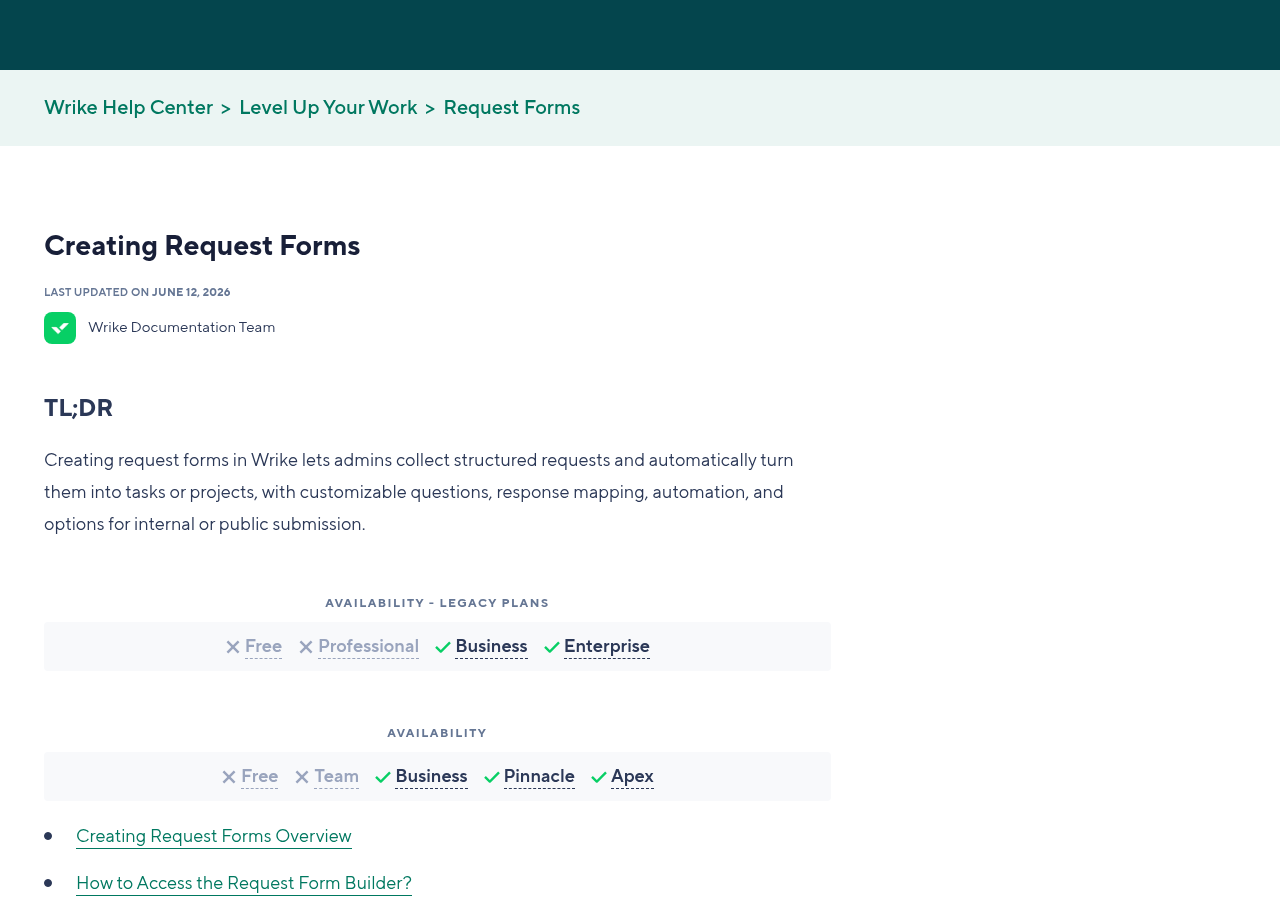
Wrike request forms turn a request into a task or project with the right fields, owner and folder already set. They need Wrike Business ($25 per user a month, billed yearly) or higher. Free and Team can’t build them. Space admins build forms for their spaces. Account admins and owners build forms for the whole account. A form can create a plain task, a project, a custom item type, or a full project from a blueprint (a reusable project template).
I checked each step on October 18, 2026, in Wrike’s help center: Creating Request Forms, Conditional Follow-up Questions, Conditional Approvals and the June 2026 release notes. Prices are from wrike.com/price.
Plan and permission check
| What you need | Detail |
|---|---|
| Plan | Business ($25), Pinnacle or Apex. Not Free or Team. |
| Who builds space forms | Space admins, for spaces they manage |
| Who builds account forms | Account admins and owners |
| Who can submit | Any Wrike user it’s shared with, plus outside people if you turn on a public link |
| Business seat range | 5 to 200 users |
On Pinnacle and Apex (and Legacy Enterprise), an owner can take form-building rights away from account admins. If an admin can’t find the + Form button, check that first.
Step 1: Open the form builder
For one space: go to the space, click the gear icon under its name, open the Request Forms tab and click + Form.
For the whole account: click your profile picture, pick Settings, open Request forms under Account management, and click + Form.
You can also click + at the top right, pick Request, then Manage forms.
Step 2: Set what the form creates
Wrike can draft the form for you. Type what you need in the Create form with AI box and click Create draft. Use it for a first pass, then check every question by hand.
Then fill in the left panel:
- Name and description. Say who should use it and when.
- What it creates. A new task, a new project, a custom item type, a blueprint, or a copy of an existing item.
- Status for new items (optional).
- Location. The folder, project or space where items land.
- Assignee and approval (optional).
- Prefix (only when you create from an existing item or blueprint). The answer to one question gets added to the titles of the new subtasks.
- Who can see it. Everyone, certain users and groups, or nobody inside Wrike.
- Public link for people outside Wrike, with optional email alerts and a CAPTCHA (a spam check).
Gotcha 1: if you skip the location, new items go to the requester’s Shared with me folder. Nobody on your team will see them. Always set a location.
Gotcha 2: if you pick “nobody in your account,” you must turn on the public link, or Wrike won’t let you publish.
Step 3: Add questions and map answers
Click + Add, pick a question type, and type the question. Turn on Answer required for anything you can’t work without. Then map each answer to a field on the new item, like a custom field for budget or a date for the due date. Mapped answers are what make the form worth it. Unmapped answers just sit in the description.
A good habit: build questions from your custom fields. In 2026, when you rename, reorder, add or delete options in a custom field, Wrike updates the matching form options for you. There is one catch. If an option has a conditional action tied to it, Wrike warns you and asks you to fix the logic or let it erase those options and actions.
Step 4: Add conditional logic
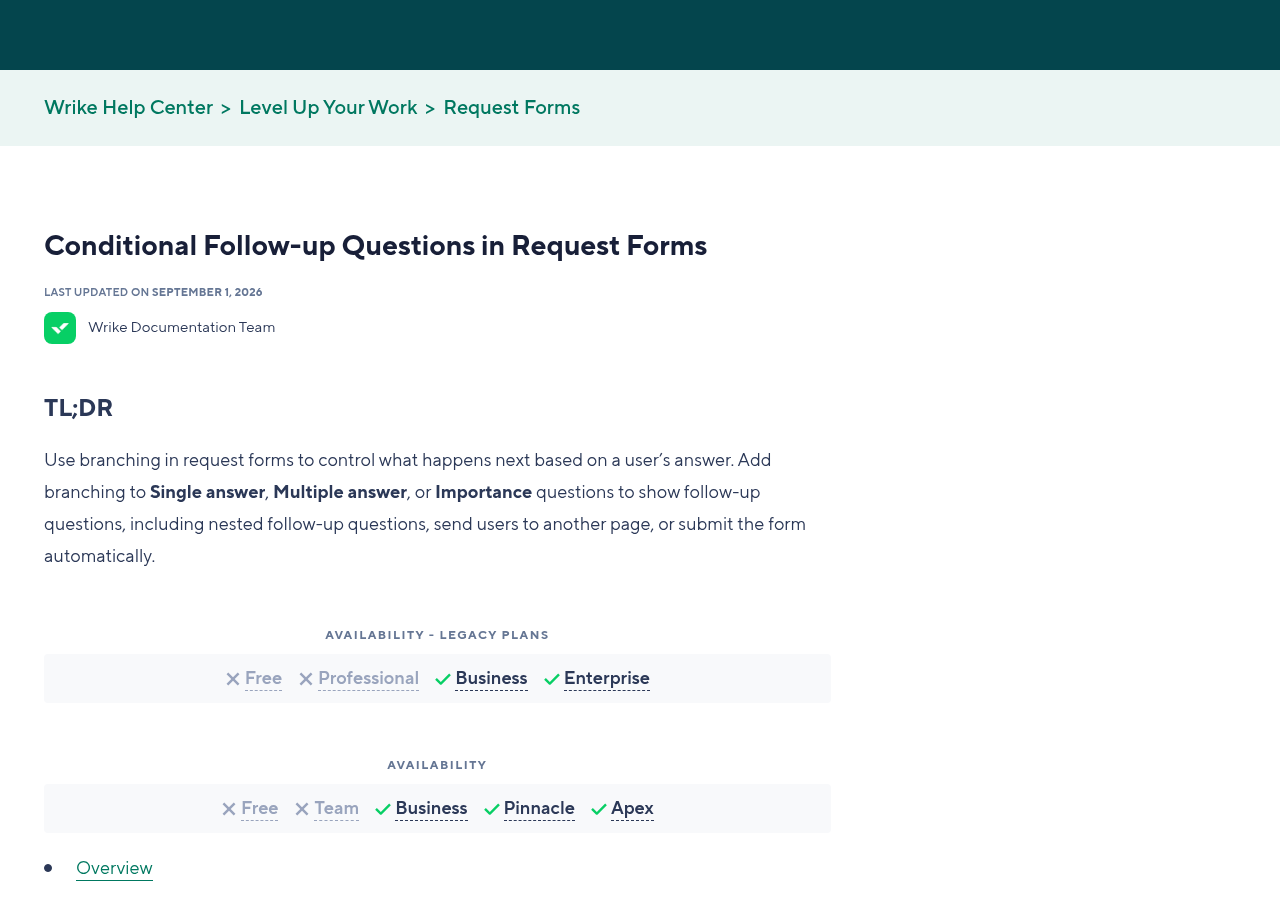
Conditional logic (branching) changes the form based on an answer. It works on Single answer, Multiple answer and Importance questions. Click the branching icon next to an answer option, then choose an action.
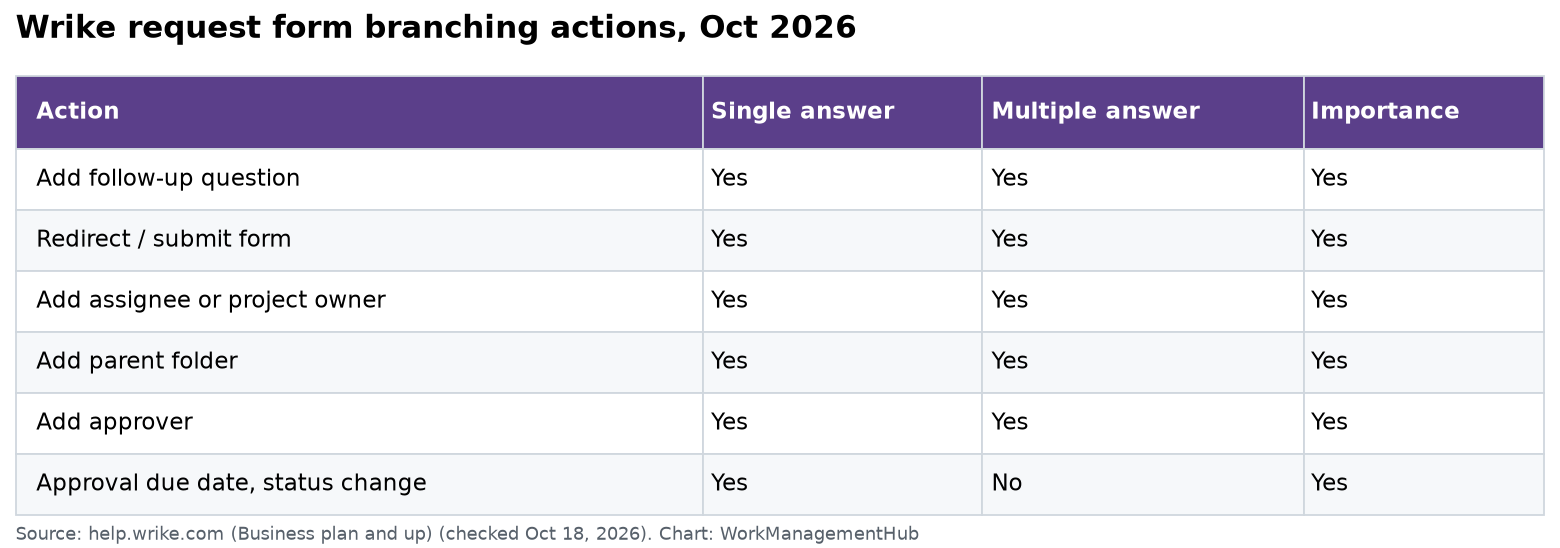
Here is what each action does:
- Add follow-up question. Ask for more detail. Since June 2026 you can attach several follow-ups to one option, and nest them.
- Redirect. Jump to another page of questions, or Submit form early.
- Add assignee / Add project owner. Route design requests to the design lead, and so on.
- Add parent folder. Also file the item in a second folder, project or space.
- Approvals. Add an approver, set a due date, and set the status if approved or rejected.
Gotcha 3: use only one redirect per page. Wrike’s help center says redirects may not work right if a page has more than one.
Gotcha 4: approval due dates and status changes only work on Single answer and Importance questions, not Multiple answer.
Gotcha 5: if the item lands in a custom workflow that has its own approvers, those approvers replace the ones you set in the form.
Step 5: Launch a blueprint from a form
This is the most useful setup for agencies and marketing teams. Set the form to Create project from… and pick a blueprint. One submission then builds the whole project: phases, tasks, owners and dates.
Two settings make it work well:
- Reschedule around. Ask for a launch date and schedule the project around it, either from the start or from the end.
- Prefix. Ask for a short name, like the campaign name, and Wrike adds it to every task title inside the project. Your task lists stay readable.
Since June 2026, answers like the item name, description and custom field values also flow down into subtasks and subprojects the form creates. Our Wrike blueprints guide shows how to build the template first.
Step 6: Save, test and publish
Click Save to keep a draft only admins can see. Click Publish to make it live.
Before you publish, submit three test requests: one for each main branch. Check that each lands in the right folder, with the right owner, fields and approval. It takes 10 minutes and saves a week of lost requests.
Public links got shorter in June 2026. Admins can add a readable ending to the URL, which helps when you paste it into an email or an intranet page.
Common mistakes that break intake
- No location set, so requests vanish into “Shared with me.”
- Too many questions. Keep it under about 10. Use follow-ups for the rest.
- Free-text answers for things you report on. Use dropdowns tied to custom fields instead.
- Two redirects on one page.
- Forgetting the public link spam check. Turn on CAPTCHA for any public form.
Honest pros and cons
Pros – Builds full projects from blueprints in one step – Strong branching: follow-ups, owners, folders and approvals – Custom field changes flow into forms on their own – Public links with CAPTCHA for outside requesters
Cons – Needs Business ($25 per user a month) at minimum – Logic has limits by question type – Workflow approvers silently override form approvers
If you’re on a tighter budget, compare our Asana forms guide and our Smartsheet forms guide. For review steps after intake, see our Wrike proofing and approvals guide.
Common questions
Which Wrike plan do I need for request forms?
Business or higher. Wrike’s help center lists request forms on Business, Pinnacle and Apex, not on Free or Team. Business is $25 per user a month billed yearly.
Can people without a Wrike account submit a request form?
Yes. Turn on the public link in the form settings. You can also add email notifications and a CAPTCHA to block spam.
Can one Wrike form launch different projects?
Yes. Set the form to create a project from a blueprint, then use conditional actions on answers to add owners, folders or approvals. The prefix and reschedule settings help each project fit the request.
Where do Wrike form submissions go if I don’t set a location?
They go to the requester’s Shared with me folder. Always set a folder, project or space so your team sees new requests.
Do Wrike form dropdowns update when I change a custom field?
Yes. Renaming, reordering, adding or deleting options in the custom field updates the form. If an option has a conditional action, Wrike warns you first.
Features and prices checked on help.wrike.com and wrike.com/price on October 18, 2026.
Sponsored